Monday, May 14, 2012

DIY Jewelry Box Makeover

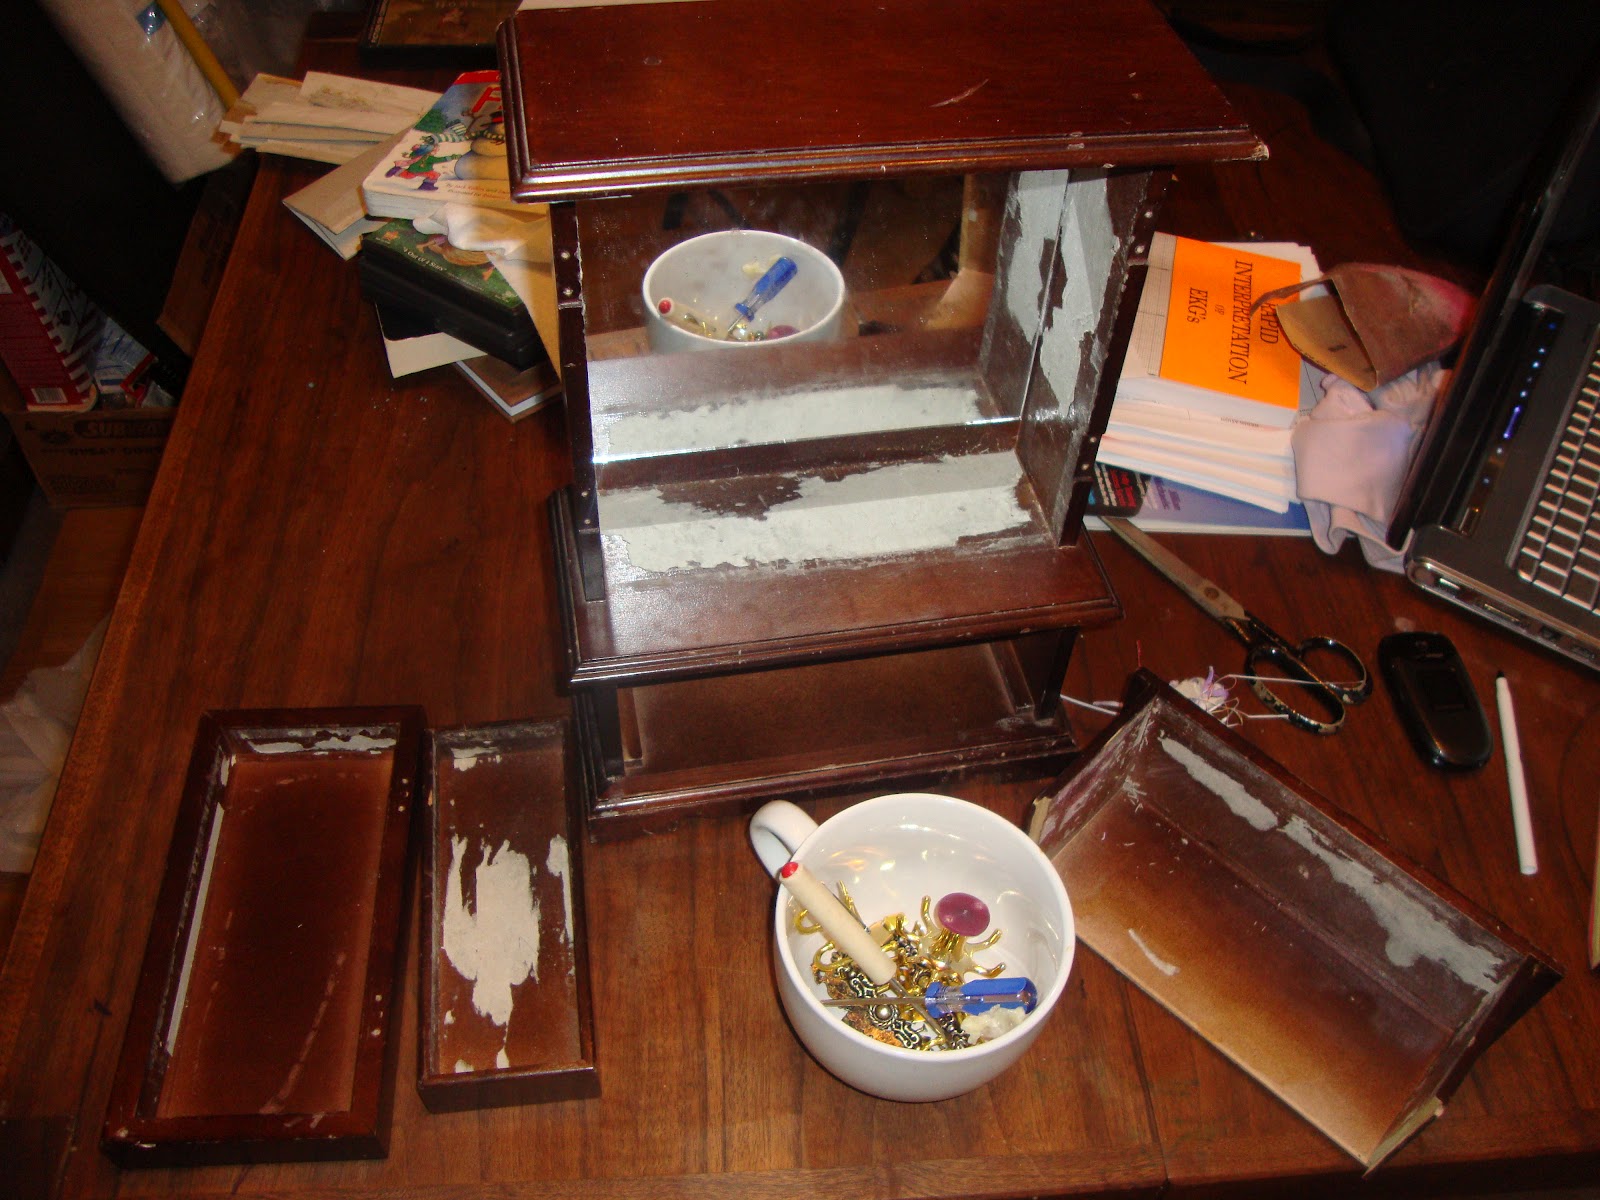
 We picked up this jewelry box at DI for $3.  The outside was scratched and the felt inside was warped and had gotten attacked by marker, so we wanted to remake it.


First we ripped out the existing felt.  You want to keep the old cardboard bases to use as a pattern for the new.
We had some really cute soft fabric we intended to use for a baby blanket and we decided to use some for this.  I used Elmer's Glue for the felt.  I didn't want the glue to be any stronger or to leak through the fabric. And then dried them in a phone book to keep them from warping.

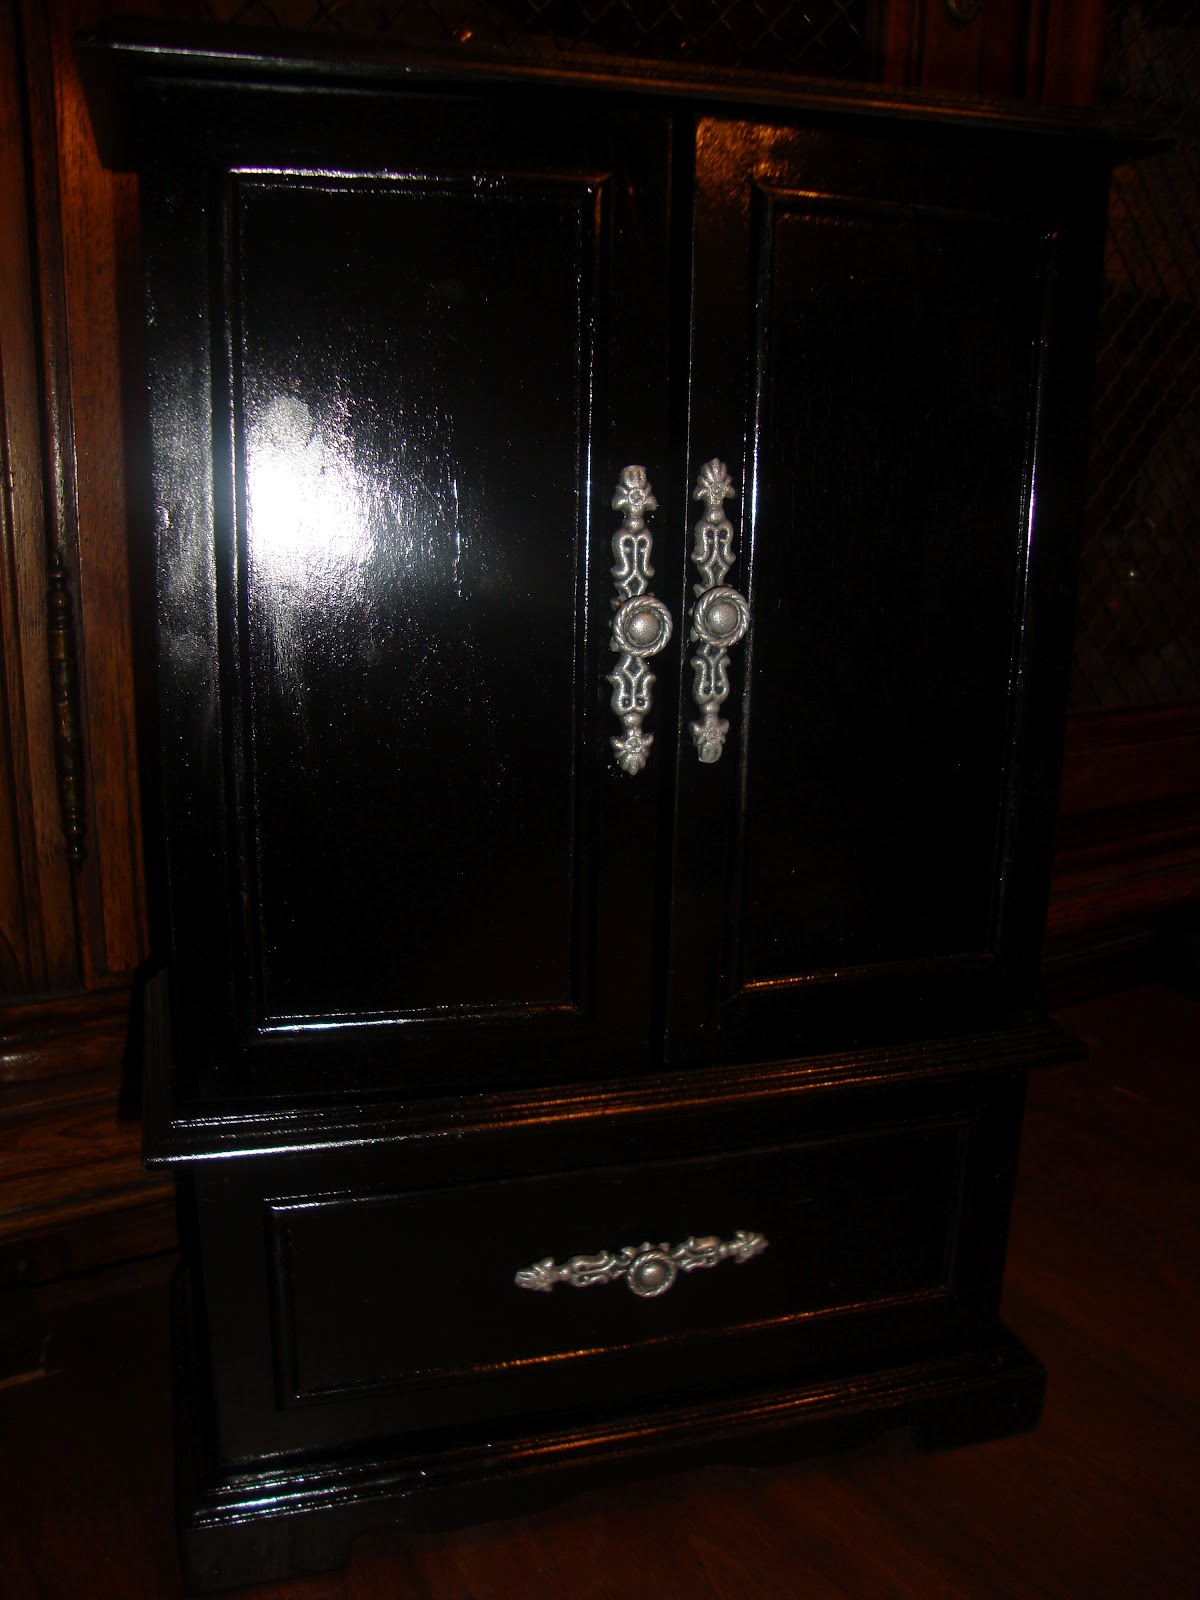
Then spray painted it black, and glued in the new felt.  I tried rubber cement but it didn't work that well. Instead, I used some liquid nails I found laying around and it worked great.  I spray painted the metal fixtures grey then silver. And aged the knobs with some leftover paint from a faux pewter kit I had.


It turned out great.  Next project, finishing a girl's dresser, and then a picnic table?

Wednesday, May 2, 2012

Finishing Touches

So here are the final touches for the Kitchen Play set, and I have to say, the fridge door turned out awesome!

First I added a cheap frame we found for a window.  I still need to find a nice picture.

I got a dish-rack that would fit in the bottom cabinet for all the small kitchen stuff we have found at D.I. so far, and kept the other cabinet for random toys.


Now to the best part.  The fridge door is awesome.  Originally I wanted to give magnetic paint a try and do a faux metal finish like I did with the oven door, but that stuff is WAY to pricey.  It's about $20 for a small can, and reviews say that it just doesn't work that well. We have some really strong magnets I got from my parents last Christmas that are awesome, but we also wanted to be able to use Elena's magnetic letters which are quite weak, so we decided to go metal.

I used some scrap wood we found in the parent's garage for a base, then covered it with a sheet of metal we found at Home Depot in the air duct section for $7.  I glued the metal to the wood with a bunch of wood-glue and a little gorilla-glue to fill in the gaps.  I painted the back white and glued a wire tray I found at DI for .50 with liquid-nails.  But the best part is the finish on the metal.  I used some iron wool and a scrubbing sponge to give it a brushed steel polish and it looks awesome.  Finished with the second Ikea handle and some cabinet magnets to hold it closed for $1.


 The fridge shelf was some plexiglass I bummed of the parents and covered with a layer of polyacrilic finish.
 All in all super happy about how it has all turned out.

Totals from previous post: $90

Metal: $7
Fridge tray: .50
Magnets: $1 x 2
Hinges: $3
Frame: free
Wood: free
Paint: free
Plexiglass: free
Handle: already bought

New Total:  103$

Again, a bit more than I expected, but it has been a ton of fun and it looks better than any of the other entertainment center play kitchens I have seen.
Together with the play table and chairs we have an awesome play kitchen!

Tuesday, April 24, 2012

Kitchen Tables and Chairs

New Project!!

Last weekend the family went garage sale shopping and it was a great success.  In addition to some large megablocks and some adorable kid's shoes for the daughter, we found the best garage sale deal EVER!

A kid table and chairs for $2!!!!

Seriously, when we asked how much and she told us 2 dollars I was shocked. Most people around here charge WAY too much for garage sale items, and the DI is partially to blame.  She was also selling a crib for $5 and an ottoman.  We didn't ask how much, and regret not grabbing them too.


Regretfully I didn't take any before pictures, and that is sad.  They were ridiculously girly.  White and hot-pink  with flowers and butterflies.  So to match the Kitchen Playset we decided to make them gender neutral and black.

Table and Chairs $2
Spray Paint $4
Polyurethane Finish - kind of expensive but worth it, and I was borrowing some we already had on hand.


They turned out awesome.

I sanded the old paint a little so the new layer would stick.  I actually pressed a little too hard with the electric sander and left some scratch marks.  I should have gone with a smaller grade sandpaper.
After sanding I coated it in 3 layers of black spray paint.

I wanted to finish it with something hard to prevent scratching/chipping so I used some polyurethane finish my brother uses for skateboards.  The can says to avoid over brushing but I wanted to give it a faux wood look.  So I brushed the same direction a few times till it started to look like wood grains.  You can kind of see it here on the table and chairs.

After I let a layer dry I sanded down the texture with some fine 220 sandpaper.  I didn't want it to be too rough because I didn't want it to mess up drawing. The sanding turns the finish milky, so you are going to have to finish with a final coat, but I had problems with blemishes, texture, and bubbles messing up the top coat, so I tried rubbing on the final coat with a sock.  It worked awesome.  I could sand to the desired level then finish with a super thin final coat that actually polished it and make it look awesome.

This looks just like our actual kitchen table and should be awesome to have for years.  Another weekend well spent!

Sunday, February 5, 2012

Entertainment Center to Play Kitchen

So here is run down on my kitchen Christmas project.
Total it probably cost 80$  Quite a bit more than I anticipated.  It also took longer, but that was mainly because I fail at painting.


Entertainment Center: 20$ DI
Plexiglas: 13$
Water Faucet: 11$
Oven Knobs:  14$
Sink Bowl:  1$
Oven Rack: 1$ DI
Back Board:  14$
Oven Handle: 12$  Ikea
Paint: mostly free
         Spray Paint 4 cans 4$
CDs: free
Spice Rack: free
Extra Wood: free


Entertainment Center:
This one was perfect.  It is the IKEA style, with the pegs and round clamps you screw to get the pieces to lock together.  This made it super easy to take apart, paint, and alter.  I moved the center divider over a few feet to give plenty of space for the stove and sink.  For the oven, I took the door off, flipped it around, moved the hinges to the bottom, and used the backside which was a simpler design. It looked more like an oven to me.

Materials:
I wanted to start and get this finished quickly, so I didn't have much time to scavenge the materials, and that made it a bit more expensive.  I wish we would have found a free metal bowl.  I think it might have looked nicer.  Oven knobs, handles, and a faucet also would have been easy to find for cheap/free if I had more time.

Paint
I used a ton of paint because I suck.  I kept getting drips and not taping very well because I was in a hurry.  Not to mention the white I was using was old and had flakes of rust.  In addition, spray paint in winter is a pain, and not all spray paint is created equal.  The satin or flat finish paint did a much better job sticking to the finish and had better coverage, and the cheap gloss paint I bought had major problems with dripping.  I tried white spray paint, but that was miserable.  I would recommend regular latex paint for anything light colored, and I actually found an old can of primer which helped as well.  In retrospect I would have payed a few bucks for a paint roller, because the sponge brushes I used were super cheap and left a bunch of streaks.  But they worked nicely for the texture on the walls and ceiling.

Oven and Stove:
The Cooling rack I bought for the oven was slightly too wide.  I had to cut a cm off with a Dremel tool.
The stove top was a sheet of plexiglass and black spray painted cds. I painted the underside with silver and gray to give it some color, without the paint scratching/chipping.  I am also considering painting the cds and the counter top with polyurethane to give it a gloss finish and protect it from scratches.  The oven knobs were a bit annoying.  I wanted them to be able to turn, so I drilled a hole in the adapters and hammered in a nut to hold the bolts securely and plan on gluing them so the knobs don't spin off.


Still need to finish:
  • Picture frame for window
  • Curtains (already have the material and the wooden dowel)
  • Fridge/Freezer door (want to make these magnetic, and the magnetic paint is expensive, plan on using scrap metal glued on top of some cheap wood).
  • Handles for fridge door
  • Magnets for all doors
  • Light for kitchen and fridge
  • Chalkboard on the side (want to try out that chalkboard paint)
  • Coat rack/shelf for the side