So here are the final touches for the
Kitchen Play set, and I have to say, the fridge door turned out awesome!
First I added a cheap frame we found for a window. I still need to find a nice picture.
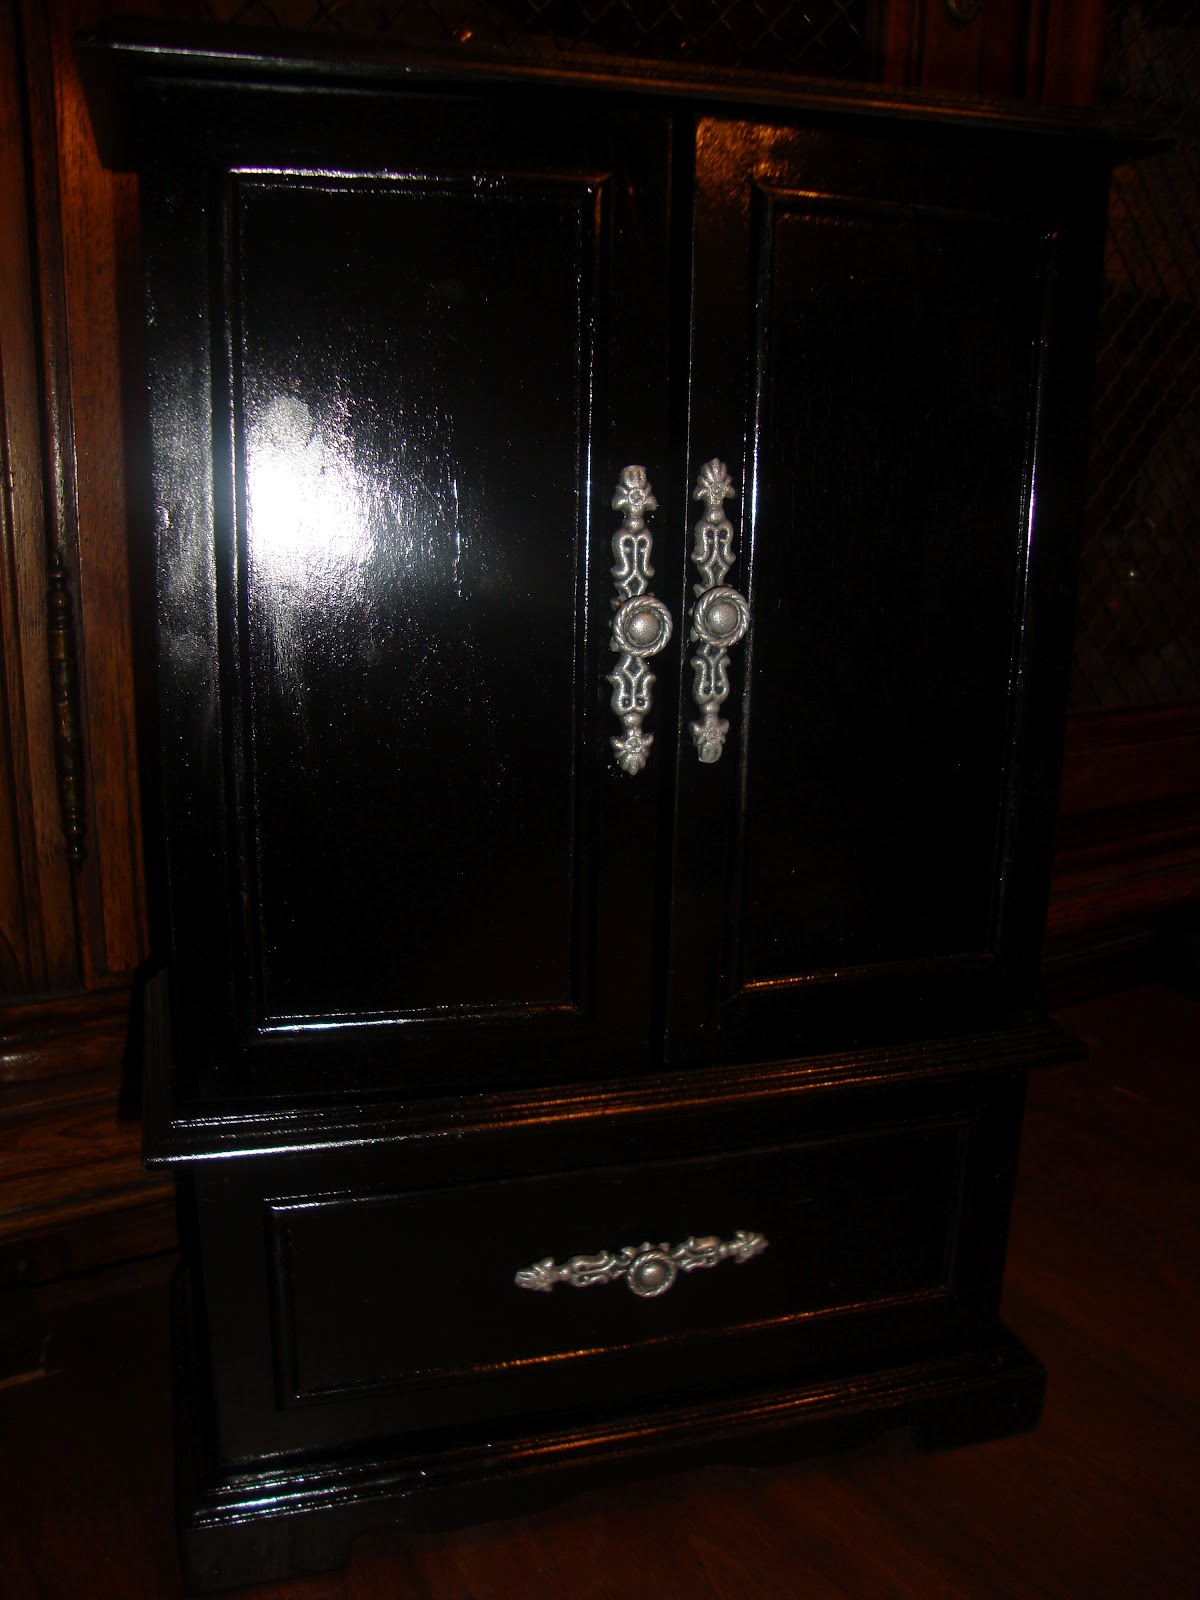
I got a dish-rack that would fit in the bottom cabinet for all the small kitchen stuff we have found at D.I. so far, and kept the other cabinet for random toys.
Now to the best part. The fridge door is awesome. Originally I wanted to give magnetic paint a try and do a faux metal finish like I did with the oven door, but that stuff is WAY to pricey. It's about $20 for a small can, and reviews say that it just doesn't work that well. We have some really strong magnets I got from my parents last Christmas that are awesome, but we also wanted to be able to use Elena's magnetic letters which are quite weak, so we decided to go metal.
I used some scrap wood we found in the parent's garage for a base, then covered it with a sheet of metal we found at Home Depot in the air duct section for $7. I glued the metal to the wood with a bunch of wood-glue and a little gorilla-glue to fill in the gaps. I painted the back white and glued a wire tray I found at DI for .50 with liquid-nails. But the best part is the finish on the metal. I used some iron wool and a scrubbing sponge to give it a brushed steel polish and it looks awesome. Finished with the second Ikea handle and some cabinet magnets to hold it closed for $1.
The fridge shelf was some plexiglass I bummed of the parents and covered with a layer of polyacrilic finish.
All in all super happy about how it has all turned out.
Totals from previous post: $90
Metal: $7
Fridge tray: .50
Magnets: $1 x 2
Hinges: $3
Frame: free
Wood: free
Paint: free
Plexiglass: free
Handle: already bought
New Total: 103$
Again, a bit more than I expected, but it has been a ton of fun and it looks better than any of the other entertainment center play kitchens I have seen.